Here are three furious and fabulous yoga poses that you can started with today. They are the chair pose, cobra pose, and pigeon pose.
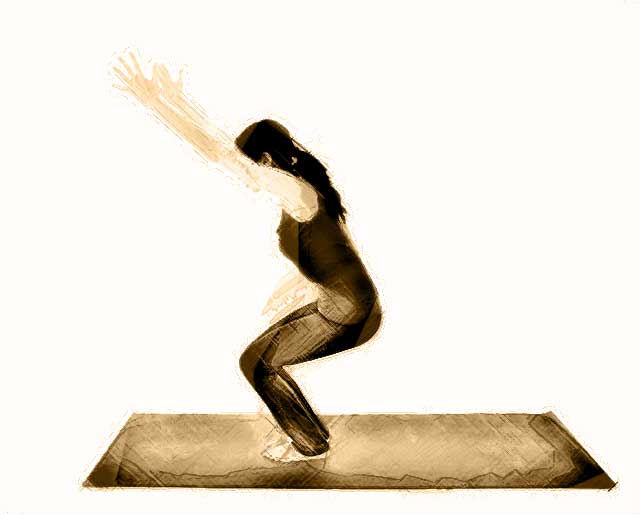
Chair pose and its benefits
Chair pose is called as Utkatasana in Sanskrit. The overall benefits of this pose are that it aids in straightening the pelvic and thigh muscles. This pose is ideal for women during pregnancy as this condition is characterized by fatigue, sickness and mood swings.
You have to assume the chair pose while standing tall with both your feet at least twelve inches apart. This pose is performed in standing position and it has been designed for toning your entire body but most importantly your thighs. Therefore you thighs should be in a position that is parallel to the floor.
Then you should inhale for two seconds and raise both your arms at the shoulder level and also ensuring that your palms are facing downwards. If you do this pose for few seconds, it will help in getting your blood pumping and increases your heart rate and thus it helps pregnant women to lose weight and burn fat.
At this position, try and exhale slowly and then sit in the squat position or on your toes. It is a very good therapeutic pose for people with flat feet and it also helps in stretching your Achilles and shins.
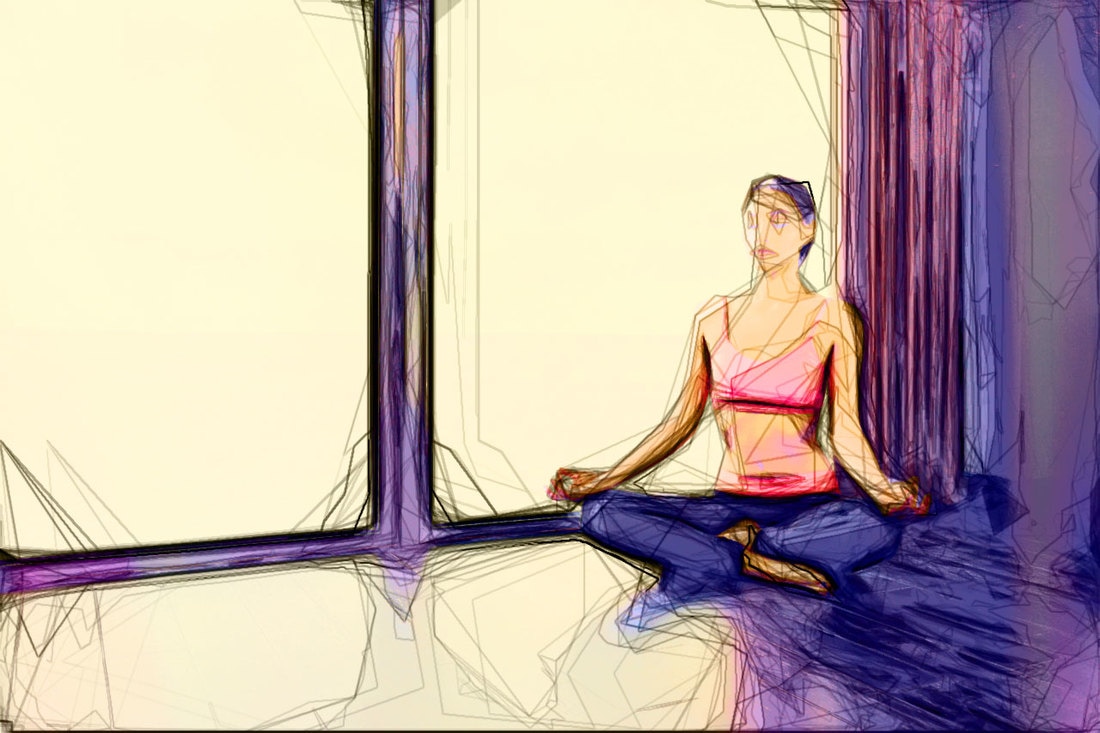
If you do not feel comfortable while standing on your toes then you can also stand normally with flat feet on the ground. I like to sit and pose in front of the TV. I'll be doing several chair poses while watching the Academy Awards later tonight.
When your hands are still raised, you have to raise yourself up and the stand on your toes. You should put your feet slightly ahead of your feet and keep your upper body at a right angle to the area of your thigh. Your arms should be raise above your head so that your elbows are touching your ears. This position looks like that you are sitting on a chair. Then you should tilt your body slightly along with lowering your hips so that your weight is shifted towards your feet. You should spread the shoulder blades apart so that your head is facing directly towards your feet.
Maintain this position for some time till you start feeling tense. You can also hold this chair for a maximum of one minute.
If you want to get maximum benefits, then you need to repeat this chair pose for minimum five times. While doing this pose, you should always breathe evenly and gently as when your heart rate increases, then slow down a little till you can breathe deeply again and feel relaxed.
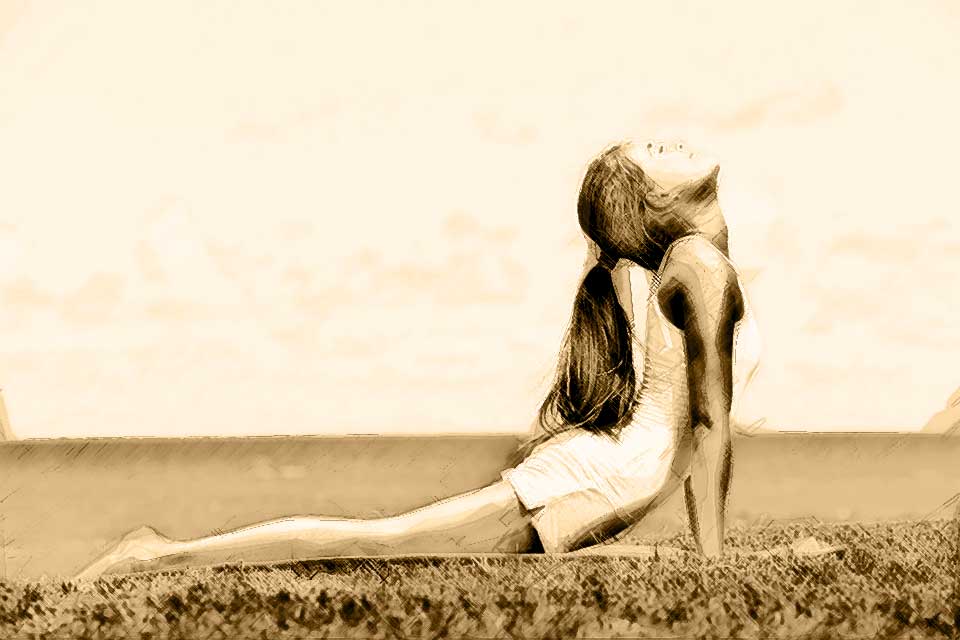
Steps of Performing Cobra Pose
Yoga is great for people. It is a kind of
exercise which people of all age group can practice. Cobra pose is a very
common posture of Hatha yoga which in Sanskrit language is known as
Bhujangasana. This is a basic yoga pose and it is been used in various types of
yoga. This yoga can be done by lying on the stomach and by placing the palms on
the floor which should be alignment with the shoulder. There are numerous benefits
of cobra pose which are - it decreases
the stiffness on the lower back, increases the flexibility of the body,
elevates the feeling, invigorates the heart, relieves fatigue and stress, improves
circulation of oxygen and blood, especially throughout the pelvic and spinal
regions, strengthens the spine, helps to ease asthma symptoms, improves
digestion, soothes sciatica, opens the chest and it helps to clear the passages
of the lungs and heart, stimulates organs in the abdomens, tones and firms the
buttocks, enhances the menstrual irregularities, strengthens the shoulders and
arms, stretches muscle tissue in the chest, abdominals and shoulders.
Step 1: You should first lie down on your belly.
Step 2: Now place your arms under the shoulders and the elbows should be tucked in close to the torso.
Step 3: You should lengthen your legs and the top of your feet should be pressed down into the mat.
Step 4: By pressing your pubic bone downwards you should activate your thigh muscle tissue. You should image that your tail bone is definitely tucked under as the abdomens helps and contracts the spine lightly.
Step 5: While inhaling, slowly press the hands to lengthen the arms and sending your chest forward and up lightly.
Step 6: You should still draw the tail bone under while the pubic bone techniques towards the navel. To keep up the openness in the lower spine as you arch you should use the pelvic tilt. Rise only where the pubic bone remains on the ground and there is no feeling of pressure in the lower back.
Step 7: Without being hard in your back muscle tissue the shoulders blades should be pulled back and down. The elbows should be tucked close to the ribcage by keeping the elbows bent slightly. You should motivate the muscle tissue of your back to work. Lift your chin and eyes by keeping a comfortable space through the nape.
Step 8: Hold it for 10-30 seconds and you should breathe with ease.
Step 9: You should complete this yoga with 1 last inhale and you should slowly exhale by bringing your chest and head forward and down. At the finish line final elongation of the spine should be experienced by pulling the torso ahead with the hands. Lift up your knees and hands by inhaling. Right now you should exhale and rest back.
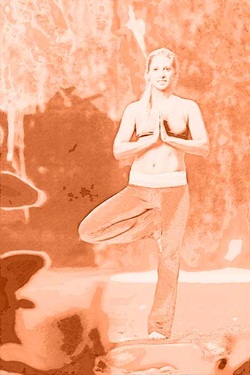
Yoga Pigeon Pose: The Benefits of the Position and the Necessary Steps for Practicing It
The pigeon pose, called Kapotasama in Sanskrit (the full name is Eka Pada Rajakapotasana) is a yoga pose that can be practiced by anybody. One of its key benefits is the reduction and elimination of the stress impact on the body. In the beginning, it can be hard, but the improvements will quickly appear. The practice will open the hip joints, flexor muscle tissue and rotator muscle tissue (improving hip flexibility), ease back pain, reduce sciatic nerve tensions and improve blood circulation for the digestive, urinary and reproductive system. The pose can be good for beginners and great for pregnant women. Advanced practitioners can try more complex versions of the pose.
Steps Necessary for a Basic Pigeon Pose
- You have to be in the starting position on your hands and knees, in a squared table pose.
- The right knee has to be brought ahead, until it reaches your right hand. You are able to do this by sliding the knee ahead, slowly. The angle of the knee must be two o'clock. In this way, the shin is under the thigh.
- The left leg should be brought back until the hips do not allow more.
- The hip flexor or the front of the left hip will usually not allow too
- much sliding.
- The hips must be kept square to the floor, otherwise there will be too much force on the back and it will now enable you to open your hips as much as you should. You have to feel a deep stretch in your right glute.
- You will have to slide the right foot forward slowly, towards your left hand. Make sure you do this gradually. Your foot should be now parallel with the front edge of the mat.
- Your thighs should have a rotation: the right one should rotate externally and the remaining one should rotate internally. In this way, pressure is kept off from the knee cap.
- Your body must be supported by pressing your hands on the floor.
You might not be able to place your right foot so it can be parallel with the front edge of the mat from the beginning, but you should keep trying. The methods above represent on of the ways you can use to enter the position and start practicing the pigeon pose. There are others more complex, but this one is enough for beginners. No matter if you are a professional athlete or you work in an office, the pose should be included in your daily exercises.
 RSS Feed